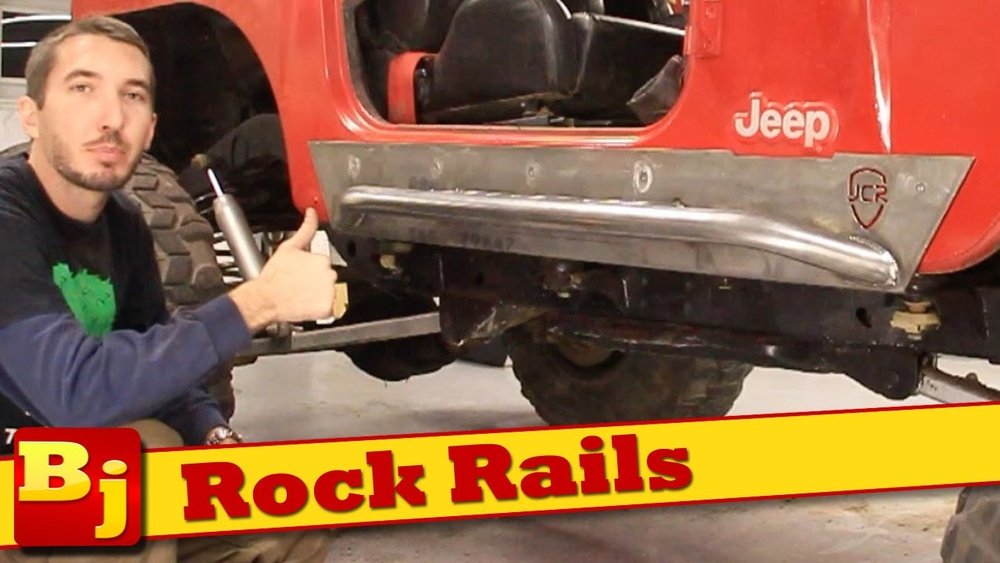
If you enjoy taking your Jeep Wrangler off-road, you know how quickly rough trails can damage the sides and undercarriage of your vehicle. Rock sliders are one of the smartest upgrades you can install to protect your Jeep’s body from rocks, stumps, and debris. They also make it easier to step in and out, especially on lifted Wranglers. But many owners hesitate, thinking installation is difficult or only for pros. The truth? With the right tools, patience, and guidance, most people can install rock sliders at home.
This guide walks you through the full process of installing rock sliders on your Jeep Wrangler. Whether you’re a complete beginner or have some DIY experience, you’ll find clear steps, tips, and insights to help you do the job right.
Let’s make your Jeep tougher and trail-ready.
Why Install Rock Sliders?
Rock sliders do more than just look rugged. Their main benefits include:
- Protecting door sills and body panels from severe dents and scratches.
- Supporting the Jeep’s weight if you get hung up on rocks or logs.
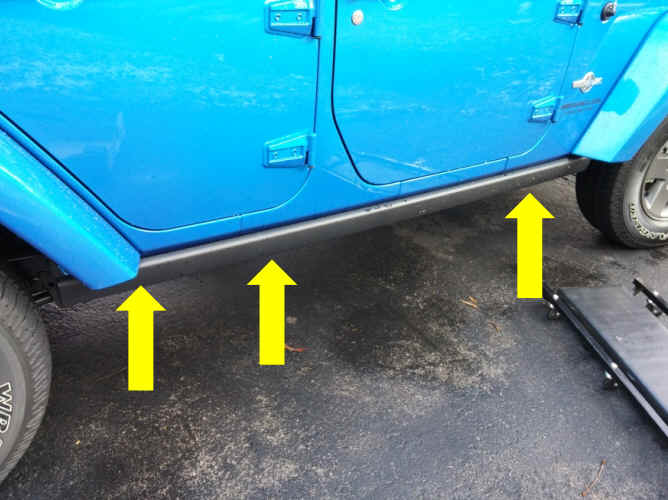
- Providing a sturdy step for easier entry, especially after suspension lifts.
- Increasing your Jeep’s resale value by preventing body damage.
- Enhancing appearance with a tough, off-road style.
Some Jeep owners mistake running boards or side steps for rock sliders. However, real rock sliders are designed for impact and can support the entire vehicle’s weight. If you plan to do serious off-roading, sliders are almost essential.
Types Of Rock Sliders
Before you start the installation, know the main types of rock sliders:
1. Bolt-on Rock Sliders
These attach to the Jeep’s frame using existing holes. They are easier to install and do not require welding or drilling in most cases.
2. Weld-on Rock Sliders
These are welded directly to the frame. They offer maximum strength but need professional welding skills.
3. Body-mounted Sliders
These bolt to the body mounts. They are less common and provide moderate protection.
- Tubular vs. Plate Style
- Tubular sliders are lighter, often round or square tubes.
- Plate sliders use thick, flat metal plates for coverage and strength.
Most Jeep owners choose bolt-on tubular sliders for a balance of strength and easy installation.
Tools And Materials You Will Need
Gather all the tools and supplies before you start. Missing tools can slow you down or even damage your Jeep.
Essential tools:
- Socket wrench set (metric and SAE)
- Torque wrench
- Breaker bar (for stuck bolts)
- Jack and sturdy jack stands
- Safety glasses and gloves
- Pry bar or large flathead screwdriver
- Drill and bits (if drilling is required)
- Rubber mallet
Materials:
- Your chosen rock sliders (check left/right side markings)
- Hardware (bolts, washers, nuts – usually included)
- Rust inhibitor or paint (for exposed metal)
- Anti-seize lubricant
- Thread locker (like Loctite)
Pro tip:
Lay out all your hardware and double-check instructions from the slider manufacturer. Some kits include special brackets or spacers.
Preparing Your Jeep Wrangler
Proper preparation makes installation smoother:
- Park on a level, solid surface. Block the wheels and engage the parking brake.
- Lift your Jeep with a jack and secure with jack stands. This gives you more room to work under the sides.
- Remove factory side steps or rails if installed. Most are held by bolts – keep these in case you want to reinstall.
- Clean the mounting area with a brush or rag. Remove dirt, mud, and old rust.
- Test fit the rock slider on each side to confirm alignment and hardware placement.
Non-obvious insight:
Check for existing damage or dents along the pinch seam or frame. Fix these before installing new sliders, since poor alignment can cause rattles or stress cracks later.
Step-by-step Installation Process
Let’s break down the process for a typical bolt-on rock slider installation. Always read your kit’s manual, as some details may differ.
1. Position The Rock Slider
- Hold the slider up to the frame using a helper or a floor jack.
- Align the bolt holes on the slider with the factory holes on the Jeep’s frame or pinch seam.
- Make sure the slider sits flush and level.
2. Insert And Hand-tighten Bolts
- Insert the supplied bolts, starting at the center and working outward.
- Add washers and nuts where required.
- Only hand-tighten at this stage. This allows for small adjustments.
3. Adjust For Fitment
- Check the slider’s gap from the body (usually 1/4″ to 1/2″ is ideal).
- Make sure both ends are level and the slider does not touch the doors.
- Adjust as needed before final tightening.
4. Tighten Bolts To Specification
- Using your torque wrench, tighten each bolt to the manufacturer’s recommended torque.
- Work in a crisscross pattern to evenly distribute pressure.
- If using frame bolts, apply thread locker for vibration resistance.
5. Inspect And Protect
- Double-check all bolts are tight.
- Paint any exposed metal or drilled areas with rust inhibitor.
- Lower the Jeep from the jack stands.
- Step on the slider to check for movement or creaks.
Common mistake:
Skipping the torque wrench and overtightening bolts can strip threads or crush the frame. Always use the correct torque.
Special Considerations: Drilling And Welding
Some sliders require additional steps:
Drilling Holes
If your slider or Jeep frame does not have pre-drilled holes:
- Mark hole positions with a marker while slider is held in place.
- Drill pilot holes, then finish with the correct size bit.
- Deburr and paint exposed metal to prevent rust.
Welding Sliders
Weld-on sliders offer the strongest bond but require:
- A MIG or TIG welder and skills to make strong, clean welds.
- Disconnecting the battery and protecting fuel/brake lines.
- Welding in short bursts to avoid overheating the frame.
If unsure, it’s better to have a qualified shop handle welding.
Comparison: Bolt-on Vs. Weld-on Rock Sliders
Many Jeep owners ask which style is better. Here’s a quick comparison:
| Feature | Bolt-On | Weld-On |
|---|---|---|
| Installation Difficulty | Easy/Moderate | Hard (Needs Welding) |
| Removability | Yes | No |
| Strength | High | Maximum |
| Cost | Lower | Higher (Labor) |
| Frame Impact | Minimal | Permanent |
After Installation: What To Check
Once the rock sliders are installed, don’t just drive off. Here’s what you should review:
- Inspect all bolts after your first off-road trip. Re-torque if needed.
- Listen for rattles or squeaks during slow drives.
- Check door alignment. If a door rubs, adjust the slider position.
- Clean mud and debris from slider mounts after each trip.
- Touch up paint on any scratches or chips.
Non-obvious insight:
Rock sliders can sometimes hide frame rust if not checked regularly. Inspect behind sliders every oil change.

Credit: www.youtube.com
Real-world Example: 2018 Jeep Wrangler Jl
Let’s walk through an example with a 2018 Jeep Wrangler JL:
- Removed factory side steps (eight bolts per side).
- Cleaned and inspected mounting points.
- Used jack stands to hold up the new tubular sliders.
- Aligned bolt holes and hand-tightened hardware.
- Used a torque wrench to secure all bolts to 55 ft-lbs.
- Applied black spray paint to any scratches from installation.
The entire process took about two hours with basic tools. The sliders did not interfere with the doors and provided a sturdy step for kids.
Cost And Time Estimates
How much does it cost and how long does it take to install rock sliders? Here’s a summary:
| Type | DIY Cost (USD) | Shop Cost (USD) | Time (DIY) |
|---|---|---|---|
| Bolt-On | $250–$800 | $500–$1,200 | 2–4 hours |
| Weld-On | $300–$1,000 | $800–$1,800 | 4–8 hours |
Prices vary by brand and finish. DIY saves money but needs the right tools and patience.
Credit: www.extremeterrain.com
Mistakes To Avoid
Installing rock sliders is straightforward, but some errors can cause problems:
- Not using a torque wrench. Guessing can lead to loose sliders.
- Forgetting thread locker. Vibration may loosen bolts over time.
- Not painting drilled areas. Bare metal rusts quickly, especially after off-roading.
- Installing on a damaged frame. Sliders need a solid base for safety.
- Mixing up left/right sliders. Many are side-specific—look for markings.
Taking your time and double-checking each step prevents most issues.
Maintenance Tips
To keep your rock sliders working and looking great:
- Wash after off-road trips to remove mud, salt, and debris.
- Inspect bolts for tightness every few months.
- Touch up paint on scratches to prevent rust.
- Lubricate moving parts if your sliders have step-out features.
- Check for rattles or movement before long trips.
With good care, quality sliders can last the life of your Jeep.

Credit: motobilt.com
Frequently Asked Questions
What Are Rock Sliders Made From?
Most rock sliders are made from heavy-duty steel (like 2″ x 0.120″ wall tubing) or sometimes aluminum for lighter weight. Steel provides the best impact resistance for off-road use.
Can I Install Rock Sliders Without Any Help?
While it’s possible, sliders are heavy and awkward. Having a friend or using a floor jack makes installation much easier and safer.
Will Rock Sliders Fit With Factory Side Steps?
No, you usually need to remove factory steps before installing rock sliders. There are some combo products, but standard sliders and steps use the same mounting points.
How Do I Know If My Sliders Are Installed Correctly?
Check that all bolts are tight, the sliders do not move or rattle, and there is a small gap between the slider and body. Test by stepping on them and listening for creaks or flex.
Where Can I Learn More About Off-road Accessories For My Jeep?
You can find more details and product comparisons on the official Quadratec website, a trusted source for Jeep upgrades.
Installing Jeep Wrangler rock sliders is one of the smartest investments you can make for off-roading confidence and body protection. With the right tools, careful preparation, and attention to detail, you can do the job yourself and enjoy safer adventures for years to come.