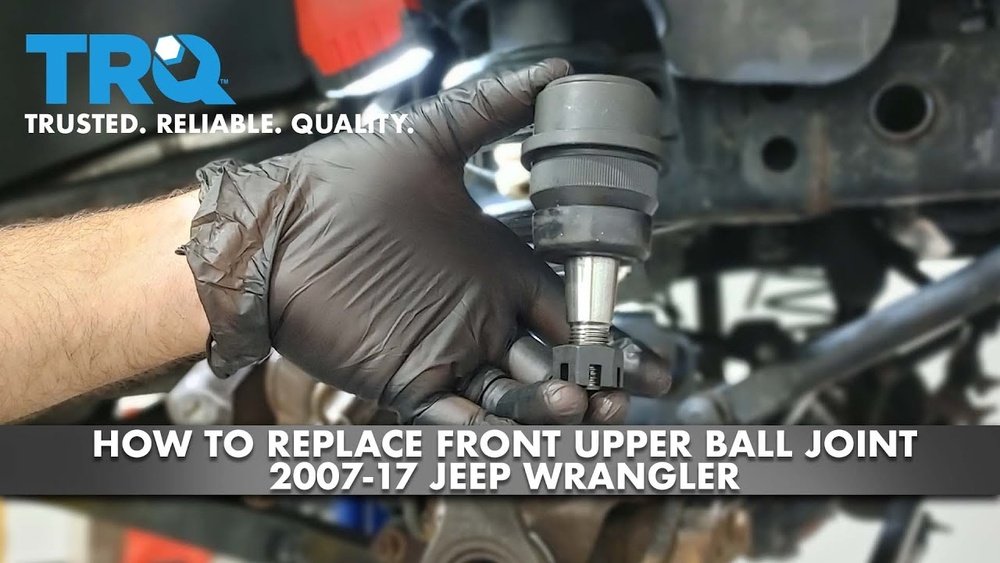
Replacing the ball joints on your Jeep Wrangler is an essential maintenance task, especially if you love off-roading or drive in tough conditions. Ball joints connect your steering knuckle to the axle and allow your wheels to move smoothly up and down. Over time, these joints wear out from mud, water, and daily use, causing loose steering, uneven tire wear, or even dangerous driving situations.
Many Jeep Wrangler owners wonder if they can tackle this job themselves. The answer is yes—with the right tools, patience, and a clear step-by-step guide, you can save money and gain confidence by replacing the ball joints at home. This guide walks you through everything: recognizing the signs of worn joints, gathering your tools, removing the old ball joints, installing new ones, and important tips that beginners often miss.
Recognizing Worn Ball Joints
It’s important to know when your Jeep Wrangler ball joints need replacement. Ignoring worn ball joints can lead to poor handling or even wheel separation in rare cases.
Common signs include:
- Clunking noise: When driving over bumps or turning the steering wheel.
- Loose steering: The wheel feels “floaty” or less responsive.
- Uneven tire wear: Especially on the inside or outside edges.
- Vibration: Felt in the steering wheel at certain speeds.
- Excessive play: When you lift the wheel and push it side to side.
Non-obvious insight: Sometimes, bad ball joints can be mistaken for worn tie rod ends or control arm bushings. Always check all front suspension parts before starting.
Tools And Parts You Will Need
Before starting, gather all the necessary tools and parts. Replacing ball joints on a Jeep Wrangler requires more than basic hand tools.
Essential tools:
- Jack and jack stands: Heavy-duty, as Jeeps are heavy and tall.
- Socket set and breaker bar: For stubborn bolts.
- Ball joint press: A must-have; renting from an auto parts store is common.
- Needle-nose pliers: For cotter pins.
- Hammer and punch: To help remove stuck ball joints.
- Torque wrench: For proper tightening.
- Pry bar: For separating components.
- Grease gun: For greasable ball joints.
Parts:
- New ball joints: Upper and lower for both sides (total of four).
- Cotter pins: Often included with new ball joints.
- Axle nut and hub bolts: Replace if damaged or corroded.
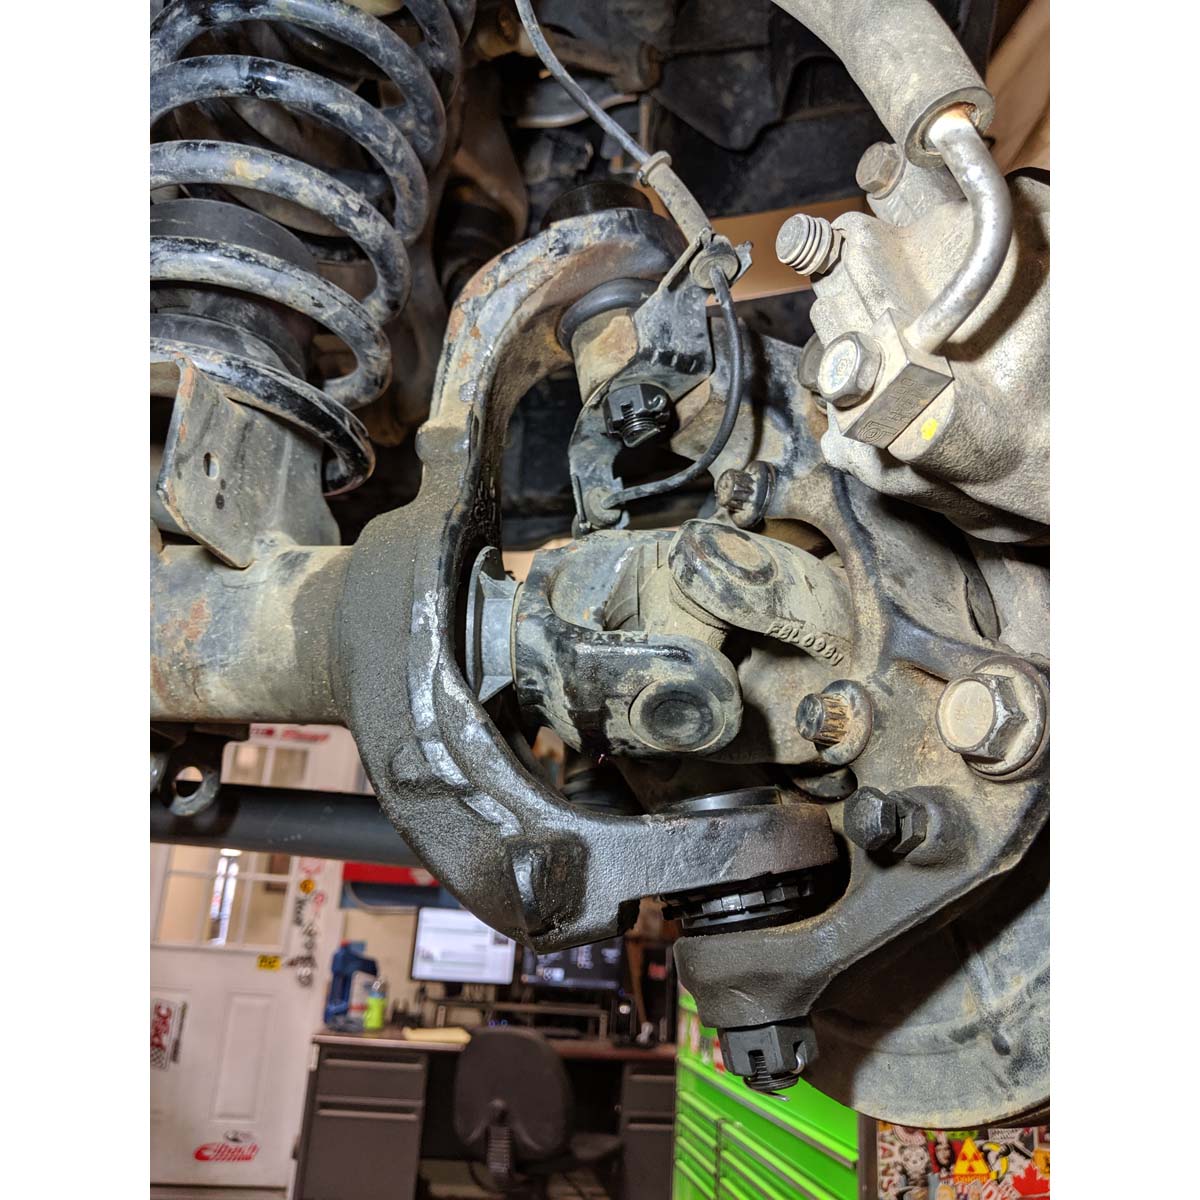
Practical tip: Buy high-quality ball joints. Cheap ones wear out faster, especially if you off-road. Brands like Moog, Synergy, or Teraflex are popular with Jeep owners.
Credit: www.synergymfg.com
Preparing Your Jeep
Preparation is as important as the replacement itself. Safe setup prevents injuries and makes the process smoother.
- Park on a level surface: Use wheel chocks behind the rear wheels.
- Loosen lug nuts: Before lifting the Jeep.
- Lift the Jeep: Use a strong jack and secure with jack stands under the frame.
- Remove the wheels: Set them aside.
Non-obvious insight: Spraying bolts with penetrating oil a day before makes removal much easier, especially on older Jeeps.
Step-by-step: Removing Old Ball Joints
This part takes effort, but following each step carefully helps avoid mistakes.
- Remove brake caliper and rotor
- Unbolt the caliper and hang it with a wire (do not let it dangle).
- Slide off the brake rotor.
- Remove axle shaft
- Take off the axle nut (may require a large socket and breaker bar).
- Tap the axle shaft with a hammer to loosen and slide it out.
- Remove hub assembly
- Unbolt the three hub bolts from the back of the knuckle.
- Wiggle and remove the hub; set aside carefully.
- Detach steering linkage
- Use a pickle fork or ball joint separator to disconnect the tie rod end from the knuckle.
- Remove knuckle
- Unbolt the upper and lower ball joint nuts.
- Use a hammer to tap the knuckle loose from the ball joints.
- Press out old ball joints
- Fit the ball joint press around the joint.
- Turn the press to push out the ball joint (some are very stubborn—patience is key).
Safety tip: Wear safety glasses during this step. Rust and metal shards can fly out unexpectedly.
Installing New Ball Joints
After removing the old joints, clean the area and prepare for installation.
- Clean the knuckle and axle ends
- Remove rust and debris with a wire brush.
- Insert new ball joints
- Position the new lower ball joint in the knuckle first.
- Use the ball joint press to seat it firmly.
- Repeat for the upper ball joint.
- Reinstall the knuckle
- Slide the knuckle onto the new ball joints.
- Install new nuts and torque to the manufacturer’s specification.
- Insert cotter pins for safety.
- Reconnect steering linkage
- Attach the tie rod end and tighten.
- Reinstall hub and axle shaft
- Slide the axle shaft back in.
- Position the hub, insert bolts, and torque to spec.
- Install brake rotor and caliper
- Slide the rotor back on.
- Bolt the caliper in place.
Practical tip: Grease the new ball joints if they have grease fittings. This extends their life.
Final Checks Before Driving
Double-check your work before putting the Jeep back on the road.
- Verify torque specs: Use a torque wrench on all critical bolts.
- Check cotter pins: Must be installed and bent correctly.
- Spin the hub: Make sure it turns smoothly by hand.
- Pump the brake pedal: Before starting, to restore brake pressure.
Non-obvious insight: Schedule a wheel alignment after ball joint replacement. Even slight changes can affect tire wear and handling.
Common Mistakes To Avoid
Even experienced DIYers can make errors. Here are mistakes to watch out for:
- Skipping the alignment: New ball joints change suspension angles.
- Forgetting cotter pins: This can cause nuts to back off while driving.
- Improper torque: Too loose or too tight can damage parts.
- Damaging the axle seal: Be careful not to nick the seal when removing the axle shaft.
- Mixing up parts: Lay out removed parts in order, and keep bolts with their components.
Cost Comparison: Diy Vs. Professional Replacement
Wondering if it’s worth doing this yourself? Here’s a look at typical costs.
| Replacement Method | Cost (USD) | What’s Included |
|---|---|---|
| DIY | $120–$350 | Parts, tool rental |
| Professional Shop | $500–$900 | Parts, labor, warranty |
DIY saves money, but takes 4–8 hours for beginners. Shops are faster but more expensive.
Credit: www.jeepz.com
Ball Joint Brands Compared
Choosing the right ball joint affects durability and performance. Here’s how top brands stack up for the Jeep Wrangler:
| Brand | Strength | Warranty | Price (Pair) |
|---|---|---|---|
| Moog | High | Limited Lifetime | $90–$120 |
| Synergy | Very High | 1 Year | $180–$220 |
| Teraflex | Extreme | Lifetime | $200–$250 |
Moog is a solid choice for daily driving and light off-roading. Synergy and Teraflex are preferred by off-roaders who need maximum strength.
Extra Tips For First-time Diyers
- Take photos: At each step. It helps during reassembly.
- Label bolts and parts: Use zip bags and a marker.
- Don’t rush: Forcing parts can cause expensive damage.
- Check YouTube videos: Seeing the process helps, especially for first-timers.
- Have a friend help: A second set of hands makes lifting parts easier.

Credit: www.youtube.com
When To Seek Professional Help
While replacing Jeep Wrangler ball joints is doable, some situations call for a pro:
- Severe rust or seized parts: May need special tools.
- Noisy or damaged axle bearings: Should be replaced at the same time.
- No experience with suspension: If you feel unsure, better safe than sorry.
If you’re not confident, many mechanics specialize in Jeep suspension work. You can find more technical details at the Wikipedia Ball Joint page.
Frequently Asked Questions
How Long Do Jeep Wrangler Ball Joints Last?
Ball joints typically last 70,000 to 100,000 miles on a Jeep Wrangler, but heavy off-roading, larger tires, or lift kits can shorten their lifespan.
Can I Drive With A Bad Ball Joint?
It is not safe. Worn ball joints can fail suddenly, causing a loss of steering control or even wheel separation. Replace them as soon as possible.
Do I Need An Alignment After Replacing Ball Joints?
Yes. Wheel alignment is necessary after ball joint replacement. It ensures proper handling and prevents uneven tire wear.
What Size Socket Is Needed For The Axle Nut?
Most Jeep Wranglers use a 36mm socket for the front axle nut, but check your model’s manual to be sure.
Can I Replace Just One Ball Joint, Or Should I Do Both Sides?
It’s best to replace both upper and lower ball joints on both sides. If one is worn, the others are likely close behind.
Replacing the ball joints on your Jeep Wrangler is a challenging but rewarding project. With careful work and the right tools, you can restore your Jeep’s steering and suspension to like-new condition. Remember, safety and patience are key. If you ever feel stuck, don’t hesitate to consult a professional or visit Jeep forums for advice.