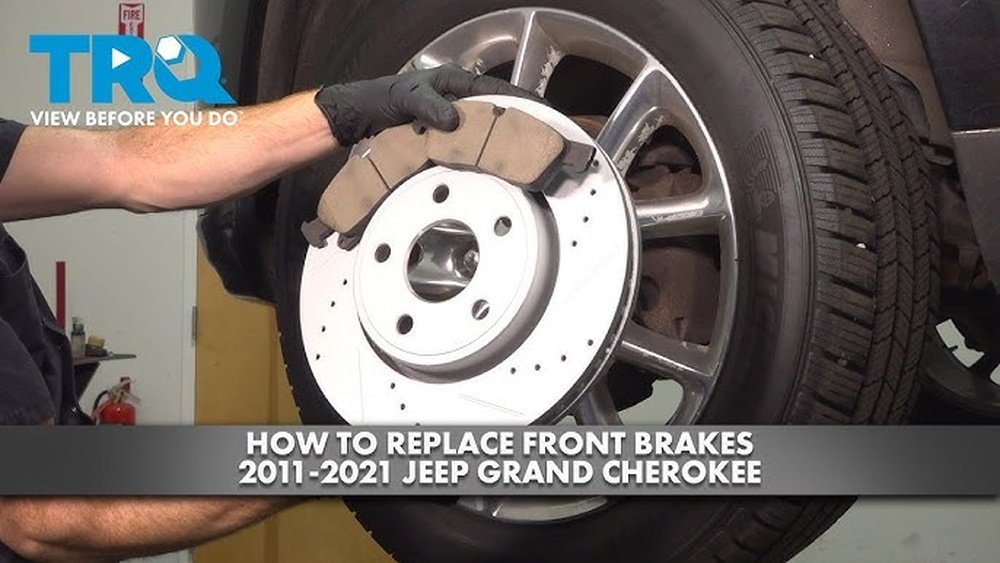
Replacing the brake pads on your Jeep Grand Cherokee can save you money and keep your SUV running safely. Many owners feel nervous about doing brake work themselves, but with the right steps, tools, and knowledge, this job is very doable for most DIYers. If you’re new to car maintenance, don’t worry—by following a careful process, you can avoid common mistakes and get your Jeep stopping smoothly again.
You’ll learn everything you need to know, from choosing the right parts to detailed step-by-step instructions. Plus, you’ll get tips that even experienced mechanics sometimes miss. By the end, you’ll feel confident about tackling this important maintenance task and know how to do it right for your Grand Cherokee.
Why Changing Brake Pads Matters
The brake pads in your Jeep Grand Cherokee are essential for safety. They press against the rotors to stop your vehicle. Over time, these pads wear down. Worn brake pads reduce stopping power, increase stopping distance, and can even damage the rotors—leading to much higher repair costs.
Most Jeep Grand Cherokee models need new brake pads every 30,000 to 70,000 miles, but this depends on how and where you drive. City driving, towing, or frequent hard stops wear pads out faster. If you hear a squealing noise, feel vibrations when braking, or notice reduced braking performance, it’s time to check your pads.
Tools And Parts You’ll Need
Before starting, gather all the necessary tools and parts. This helps you avoid delays or missing steps.
Essential Tools:
- Jack and jack stands (or a hydraulic lift)
- Lug wrench
- Ratchet and socket set (usually 13mm-18mm for caliper bolts)
- C-clamp or brake caliper tool
- Flathead screwdriver or pry bar
- Torque wrench
- Wire brush
- Brake cleaner spray
- Disposable gloves
- Safety glasses
Parts to Buy:
- Replacement brake pads (front or rear, as needed)
- Brake pad grease or anti-squeal compound
- New brake hardware (clips or shims), if required
Optional, but Helpful:
- Bungee cord or wire (to hang caliper)
- Drip pan (for catching brake dust/debris)
- Shop rags
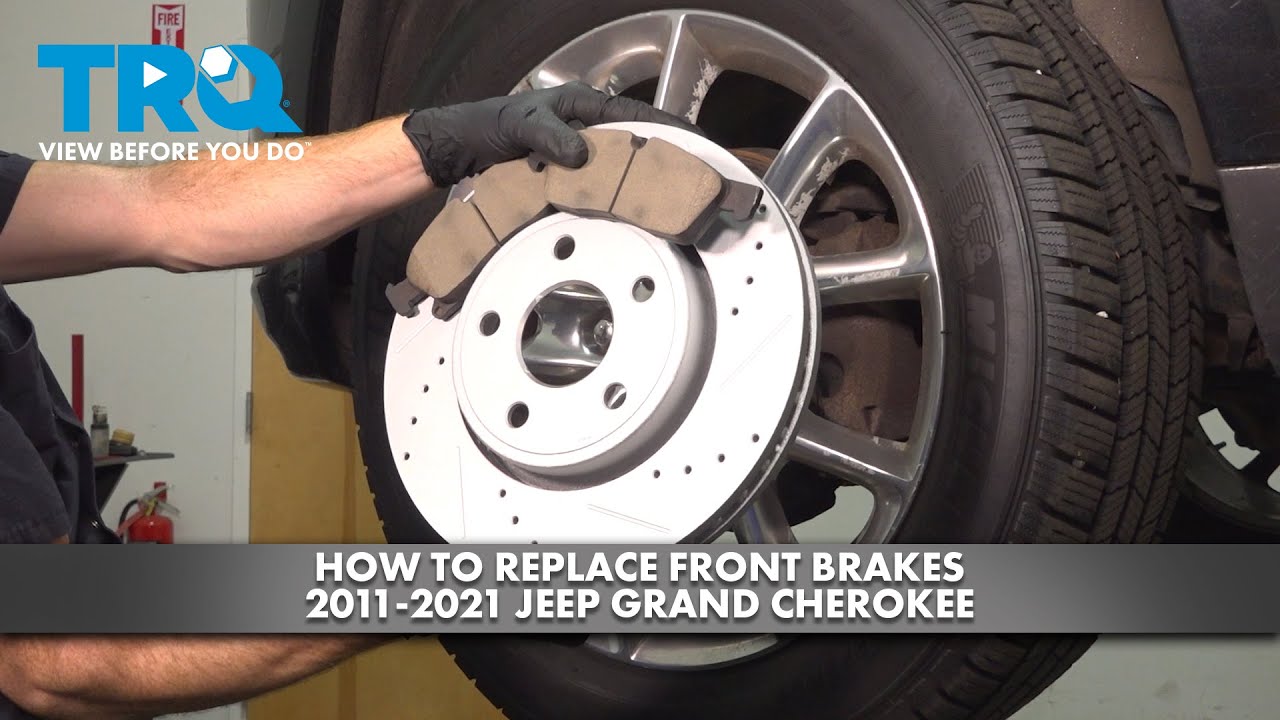
Many beginners forget to check if their brake pads include new hardware. Installing new clips or shims can reduce brake noise and increase pad life.
Credit: www.youtube.com
Choosing The Right Brake Pads
Not all brake pads are the same. Choosing the right type for your Jeep Grand Cherokee affects performance, lifespan, and even brake feel.
Here’s a quick comparison of the main types:
| Type | Pros | Cons | Best For |
|---|---|---|---|
| Ceramic | Low dust, quiet, long life | Costlier, less bite in cold | Daily driving, city use |
| Semi-Metallic | Good performance, affordable | More dust, can be noisy | Towing, spirited driving |
| Organic | Soft feel, quiet | Wear faster, less stopping power | Light use, older models |
Check your owner’s manual or ask a trusted parts store for the exact fitment. For most Grand Cherokee owners, ceramic brake pads are a great choice. They last long and keep your wheels cleaner.
Safety First: Preparing Your Jeep
Safety is the top priority. Never work on brakes with the car on a weak or unstable surface.
- Park on a flat, solid surface. Engage the parking brake.
- Loosen the lug nuts on the wheel you’ll work on, but don’t remove them yet.
- Lift the Jeep using a jack and secure it with jack stands. Never rely on the jack alone.
- Remove the wheel completely and set it aside.
It’s smart to replace brake pads on both sides (left and right) of the same axle at once. Mixing new and old pads on one axle can cause uneven braking.
Step-by-step: Replacing The Brake Pads
Now you’re ready for the main job. Follow these detailed steps for a smooth process.
1. Remove The Brake Caliper
The brake caliper holds the pads and presses them against the rotor.
- Find the two caliper bolts on the back of the caliper.
- Use your socket and ratchet to remove these bolts.
- Carefully slide the caliper off the rotor. Don’t let it hang from the brake hose—use a bungee cord or wire to hang it from the suspension.
Pro tip: If the caliper is stuck, gently pry it with a flathead screwdriver. Don’t force it—check for hidden bolts or clips.
2. Remove The Old Brake Pads
- The old pads will now slide or pull out from the caliper bracket.
- Note how they fit, so you can install the new ones the same way.
- If your pads have wear indicators (small metal tabs), notice where they are placed.
Non-obvious insight: Many first-timers forget to check both sides of each rotor. Always replace both pads (inner and outer) on each wheel.
3. Inspect The Rotors And Hardware
Before installing new pads, check the rotor surface for deep grooves or scoring. Minor surface marks are normal, but big ridges mean the rotor needs resurfacing or replacement. Also, inspect the caliper hardware and guide pins. Sticky or corroded pins can cause uneven wear or brake noise.
4. Compress The Caliper Piston
- Use a C-clamp or caliper tool to slowly push the piston back into the caliper.
- Place the old pad over the piston and position the clamp. Tighten gently until the piston is fully retracted.
This step creates space for the new, thicker pads. Go slowly—forcing the piston too fast can damage seals.
5. Install New Brake Hardware
If your brake pads include new hardware (clips or shims), remove the old ones and install the new hardware in the same spots. Clean the bracket with a wire brush for best results.
6. Add Brake Grease
Apply a thin layer of brake pad grease to the back of the pads and any contact points with the caliper or hardware. Avoid getting grease on the pad surface or rotor—this can cause dangerous brake fade.
7. Install The New Pads
Slide the new pads into place, matching the orientation of the old ones. Make sure any wear indicator tabs are in the same position as before.
8. Reinstall The Caliper
- Carefully slide the caliper over the new pads.
- Insert and tighten the caliper bolts to the manufacturer’s torque specification (usually between 25-35 ft-lbs for most Jeep models).
A torque wrench is important here—over-tightening can strip the bolts, while under-tightening is unsafe.
9. Reinstall The Wheel
- Put the wheel back on and hand-tighten the lug nuts.
- Lower the Jeep off the jack stands.
- Tighten the lug nuts in a star pattern to the correct torque (usually 95-110 ft-lbs for Grand Cherokee).
10. Repeat For Other Side
Always do both wheels on the same axle. Repeat all steps for the other side.
Finishing Up: Testing Your Work
Before you hit the road, take a few extra steps to ensure safety.
- Pump the brake pedal several times before starting the engine. This seats the pads against the rotors and restores pedal feel.
- Check brake fluid level and top up if needed.
- Look under the Jeep for any fluid leaks or loose parts.
When you first drive, avoid hard braking for the first 150-200 miles. This helps the pads bed in for longer life and quieter operation.
Here’s a summary of the process for quick reference:
| Step | Key Action |
|---|---|
| 1 | Remove caliper and old pads |
| 2 | Inspect and clean hardware |
| 3 | Compress caliper piston |
| 4 | Install new hardware and pads |
| 5 | Reinstall caliper and wheel |
| 6 | Test brakes before driving |

Credit: www.ifixit.com
Common Mistakes To Avoid
Many beginners make simple errors that can lead to noise, poor performance, or even damage. Watch for these pitfalls:
- Not compressing the piston fully – This causes the caliper to not fit over the new pads.
- Forgetting to torque bolts – Loose or overtightened bolts are unsafe.
- Touching pad friction surface – Oil from your fingers can cause squeaks or poor braking.
- Reusing old hardware – Old, rusty clips can cause uneven wear or noise.
- Not bedding in the pads – Skipping the break-in process can shorten pad life.
When To Seek Professional Help
While most Jeep Grand Cherokee owners can change brake pads themselves, there are times when it’s best to see a mechanic. If you notice deep grooves in the rotors, leaking brake fluid, or damaged caliper parts, get professional help. Also, if you feel unsure at any step, don’t risk your safety—brakes are too important.
Many professional mechanics also recommend checking the condition of the brake fluid. If it’s dark or dirty, consider replacing it for best performance.
Extra Tips For A Smooth Brake Job
- Take photos as you disassemble each part. This helps you remember how to put everything back.
- Clean the rotor with brake cleaner before installing new pads.
- If your Jeep has a brake pad wear sensor, make sure to reconnect or replace it.
- Use a torque wrench for both caliper bolts and lug nuts—accuracy is key.
- Always test brakes in a safe, empty area before driving at normal speed.
For more technical details and safety tips, you can also visit the official Wikipedia Disc Brake page.
Frequently Asked Questions
How Often Should I Replace The Brake Pads On My Jeep Grand Cherokee?
The recommended interval is every 30,000 to 70,000 miles, but it depends on your driving habits. City driving, towing, or frequent braking can wear out pads faster. Always check the pads during regular maintenance.
Can I Just Replace The Brake Pads, Or Do I Need To Replace The Rotors Too?
If the rotors are smooth and not deeply grooved or warped, you can reuse them. If you feel vibrations or see heavy scoring, it’s time to replace or resurface the rotors as well.
What Type Of Brake Pads Should I Use For My Grand Cherokee?
Ceramic pads are a good choice for most owners due to low dust and long life. If you tow or drive aggressively, consider semi-metallic pads for better stopping power.
Why Are My Brakes Still Squeaking After Replacing The Pads?
Squeaking can happen if you reuse old hardware, skip brake grease, or if the pads are low-quality. Make sure you install new clips, use brake lubricant, and properly bed in the new pads.
Is It Safe To Drive With Worn Brake Pads?
No. Worn brake pads reduce stopping power and can damage rotors. For your safety, replace them as soon as you notice signs of wear.
Taking care of your Jeep Grand Cherokee’s brakes is one of the best ways to protect yourself, your passengers, and your vehicle’s value. With patience and attention to detail, you can replace your brake pads at home and enjoy safe, confident driving for many miles ahead.

Credit: www.tatebranchhobbs.com