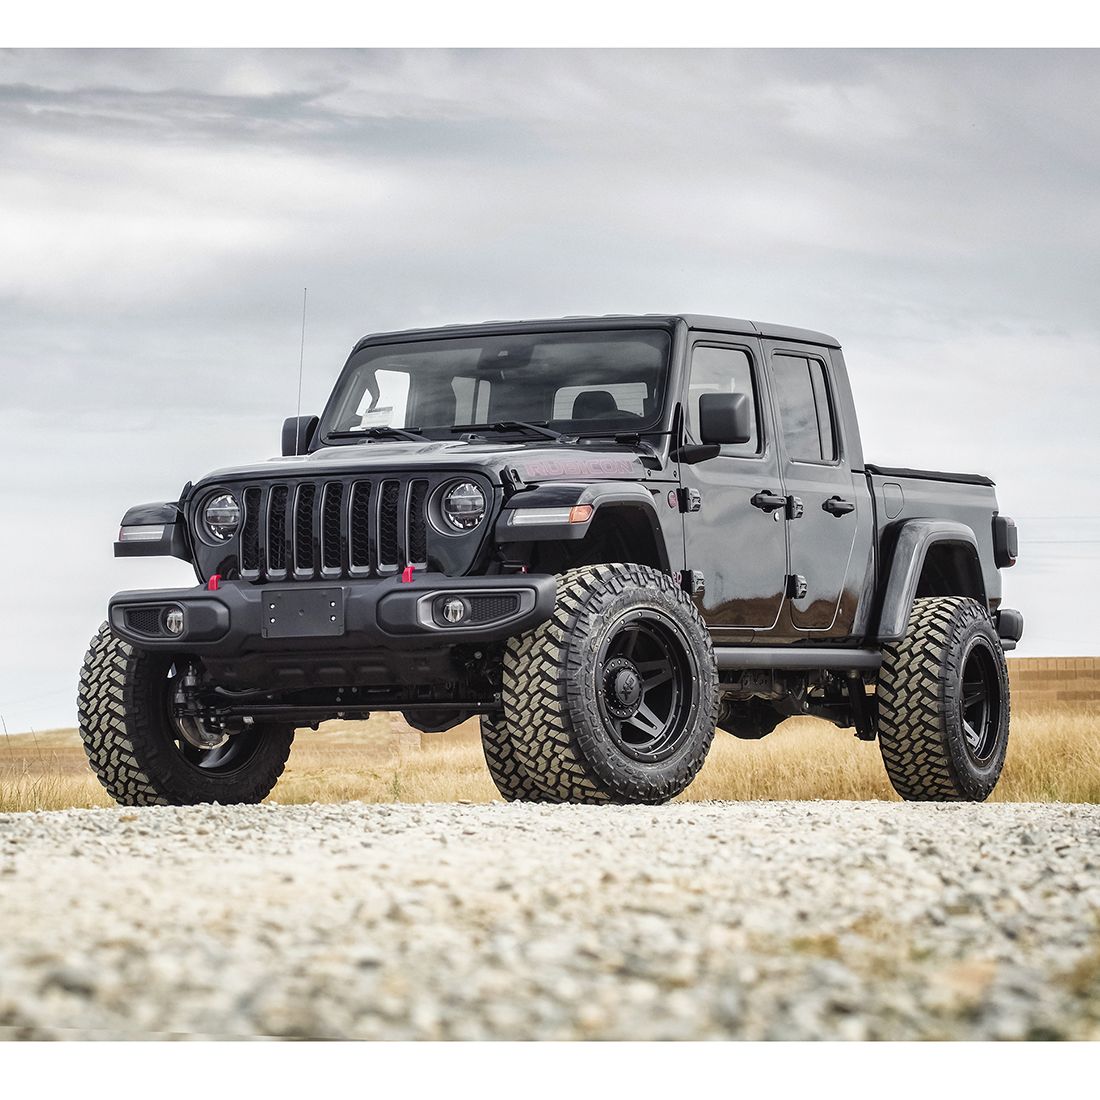
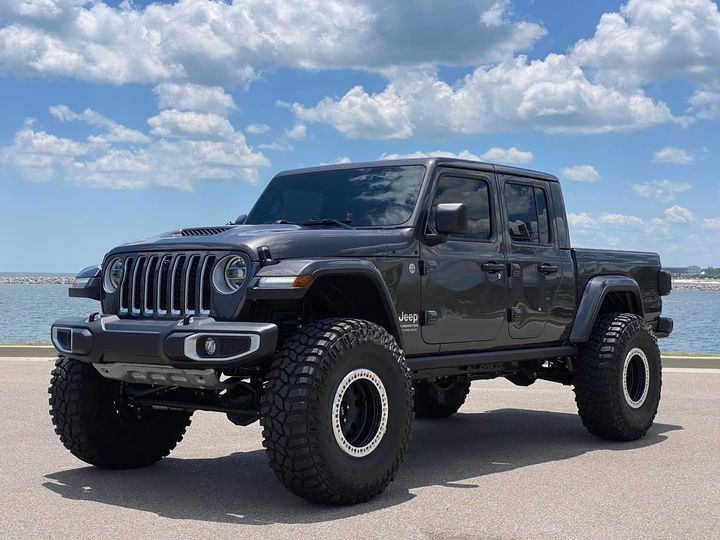
Lifting your Jeep Gladiator by 2 inches can turn an already capable truck into something even more impressive. Whether you want to fit larger tires, improve off-road performance, or simply want your Gladiator to stand out, a 2-inch lift is a practical and popular choice. But getting it right takes more than just buying a kit and bolting it on. There are important steps, choices, and safety checks you should know about.
This guide takes you through everything you need for a safe, reliable 2-inch lift—no guesswork, no skipped steps. You’ll learn the parts involved, key differences between lift methods, the installation process, and important tips for a smooth experience. Let’s get your Gladiator ready for its next adventure.
Understanding A 2-inch Lift For Jeep Gladiator
Lifting a Jeep Gladiator means raising the chassis higher above the axles. A 2-inch lift is considered mild, but it brings noticeable changes. It allows you to fit up to 35-inch tires (sometimes slightly more with trimming), increases ground clearance, and gives your truck a tougher look. Unlike extreme lifts, a 2-inch lift usually avoids complex driveline or steering issues, making it ideal for daily drivers and weekend off-roaders.
There are two main ways to achieve a 2-inch lift:
- Spacer Lift Kits (also called budget boosts): These use simple spacers above the coil springs to raise the body.
- Suspension Lift Kits: These replace springs and sometimes shocks, giving a true suspension height increase.
Each option has pros and cons, which we’ll explore so you can choose what fits your needs and budget.
Choosing The Right 2-inch Lift Kit
Picking the right lift kit is the most important decision. Kits vary by price, quality, included parts, and what you want from your Gladiator. Here’s what you need to consider:
Spacer Lift Kits
- Cost-effective: Usually between $150 and $350.
- Quick to install: Less than a day for most DIYers.
- Good for looks and mild off-roading: Maintains factory ride since it uses stock springs and shocks.
But, spacers do not improve suspension travel or flex. If you plan to do serious off-roading, a full suspension kit is a better choice.
Suspension Lift Kits
- Better ride quality: New springs and shocks can improve comfort and handling.
- Improved off-road ability: More articulation, stronger components.
- More expensive: Kits range from $500 to over $2,000.
Some kits include just the basics (springs and shocks), while others come with extra parts like control arms, track bars, or bump stop extensions.
Key Factors When Comparing Kits
| Kit Type | Average Cost | Ride Quality | Off-Road Improvement | DIY Difficulty |
|---|---|---|---|---|
| Spacer | $150-$350 | Factory | Low | Easy |
| Suspension | $500-$2,000+ | Improved | High | Medium-Hard |
Brand Reputation
Choose kits from respected brands like Mopar, Teraflex, Rough Country, AEV, or Skyjacker. These companies offer kits tested for strength and compatibility with the Gladiator’s frame and components.
What’s Included?
A complete kit for a 2-inch lift should have:
- Front and rear coil spacers or springs
- Shock extensions or new shocks
- Bump stop extensions
- Sway bar links or brackets
- Brake line brackets (if needed)
Double-check what’s in the box before buying. Some budget kits skip important parts, which you may need to buy separately.
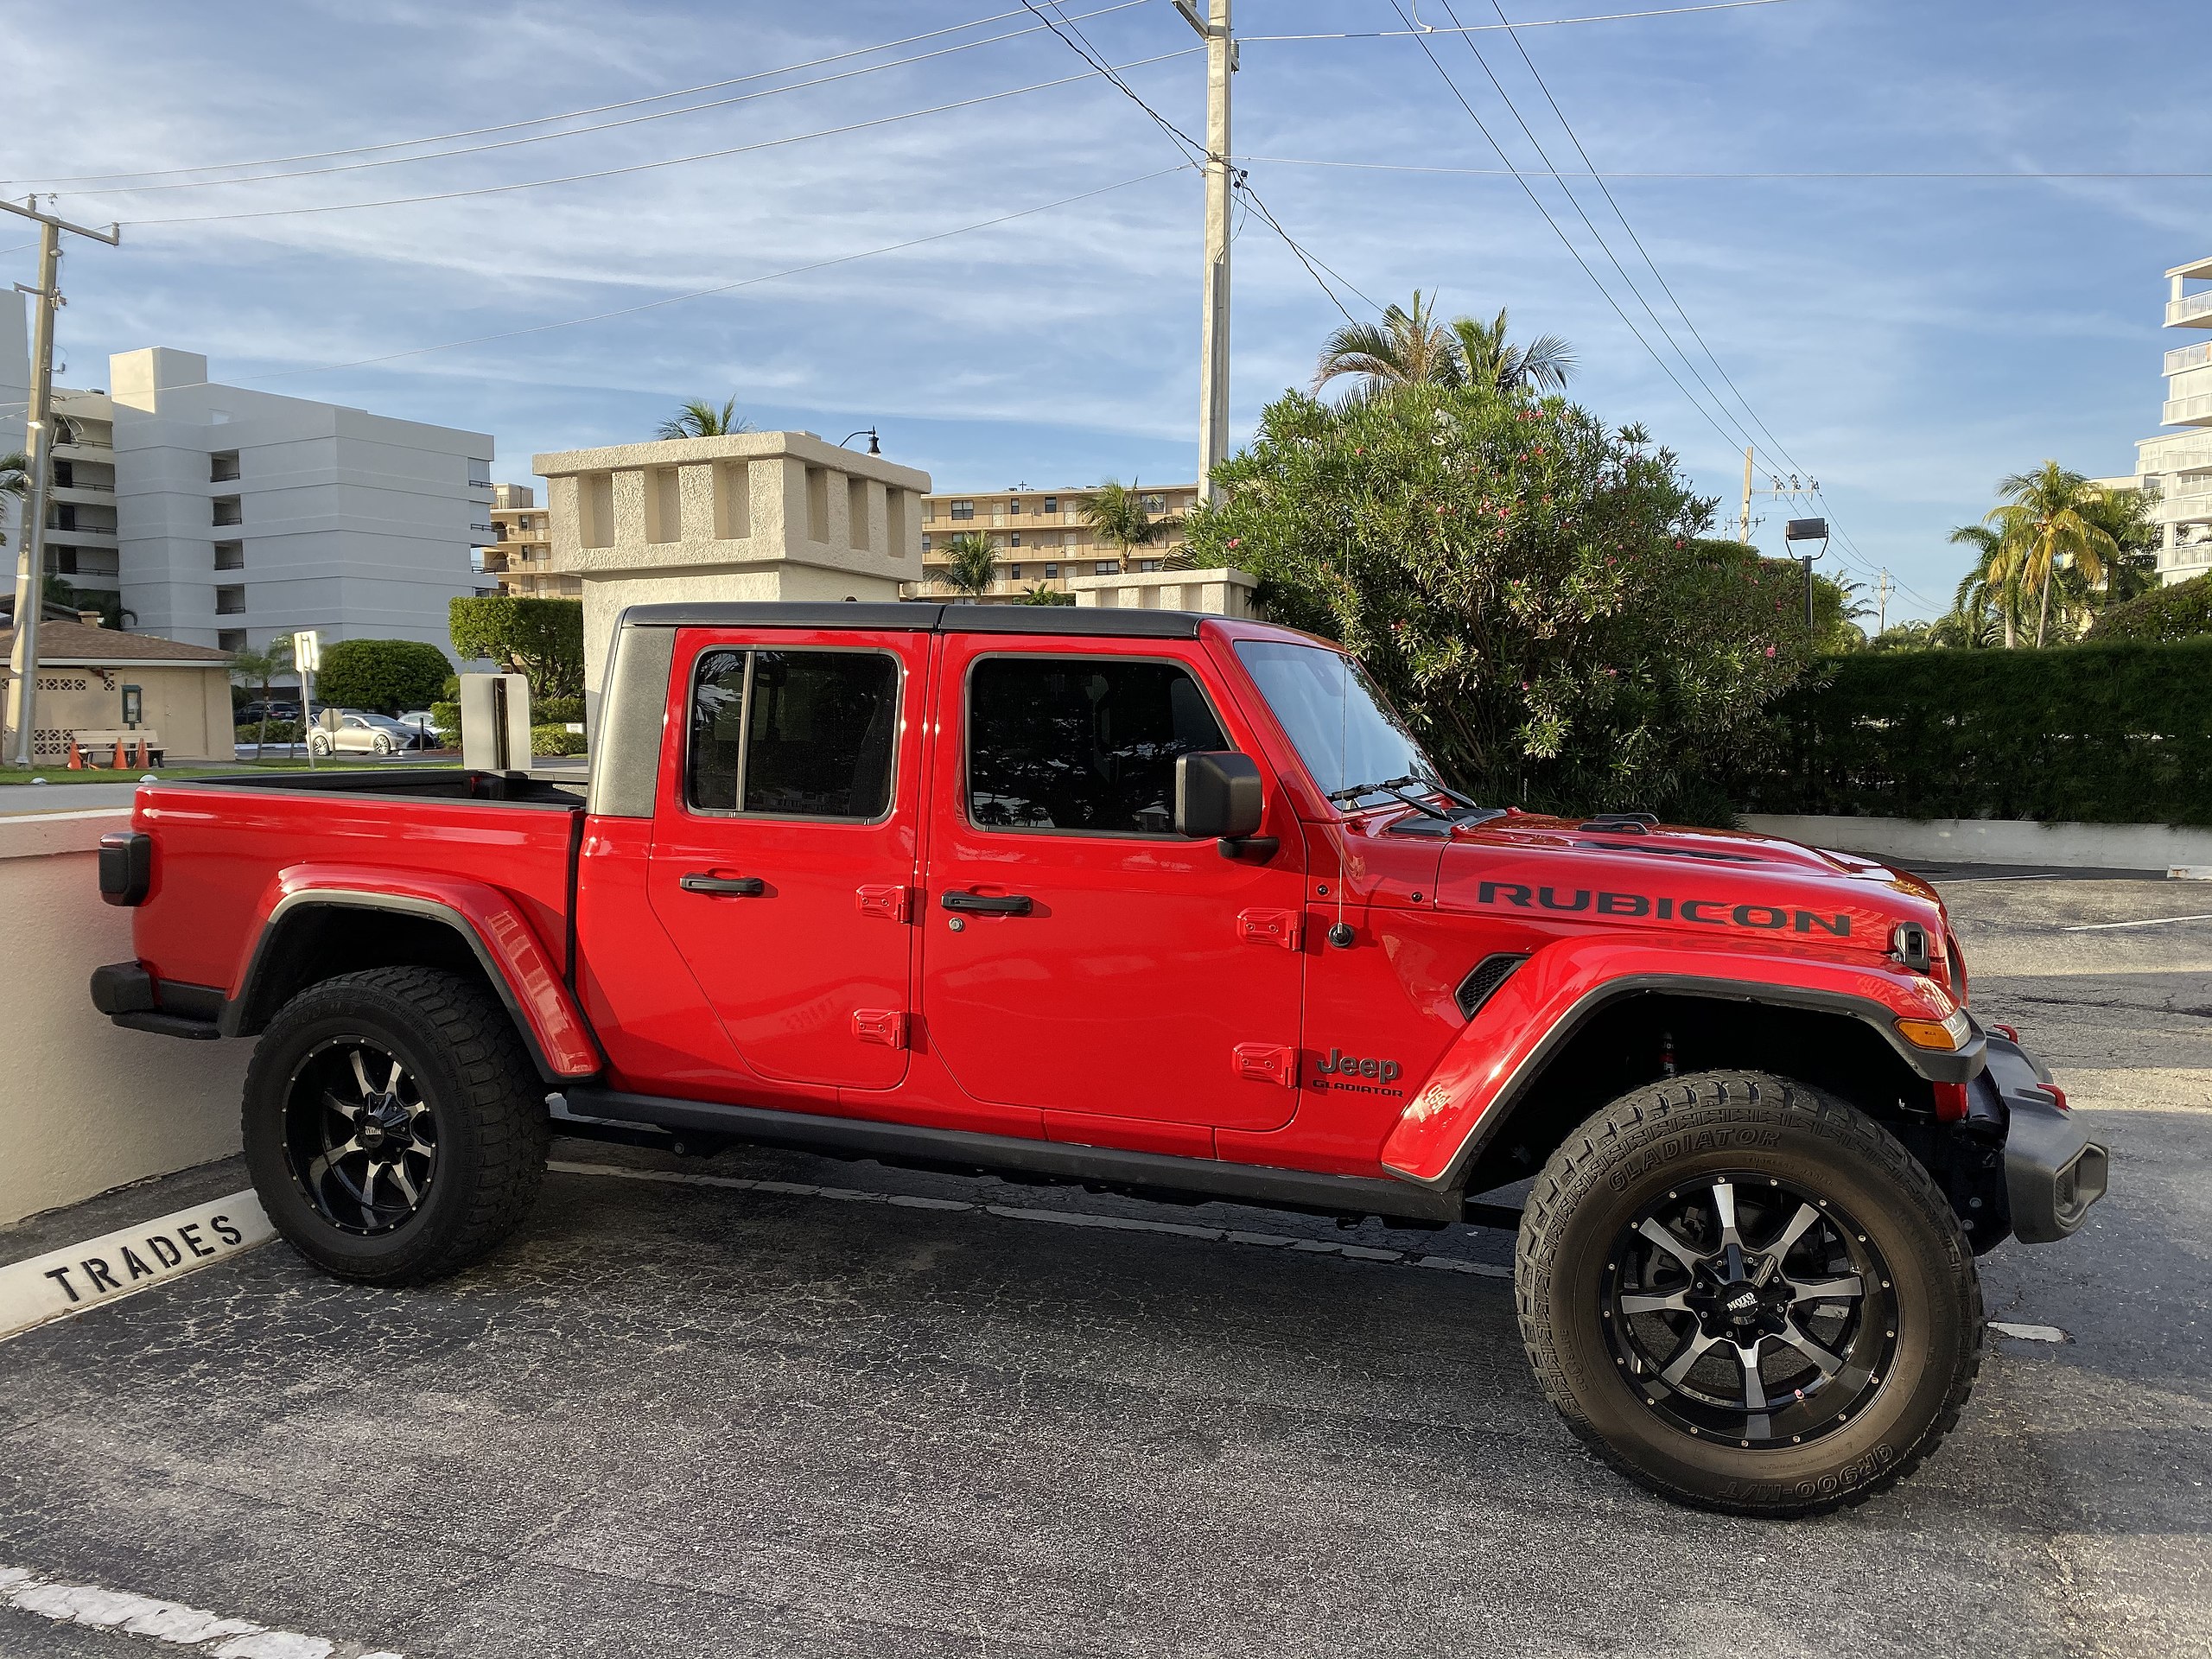
Credit: www.justjeeps.com
Tools And Preparation
Before starting, gather the right tools and plan enough time (usually 4–8 hours for DIY with simple tools). Here’s a list of what you’ll need:
- Jack and sturdy jack stands
- Socket set and wrenches
- Torque wrench
- Spring compressor (for some suspension kits)
- Pry bar
- WD-40 or similar lubricant
- Wheel chocks
- Measuring tape
It’s best to have a friend help, especially when handling heavy components.
Preparation Tips
- Park on a flat, solid surface.
- Read the full instructions for your kit.
- Spray all bolts with WD-40 a few hours before starting.
- Measure your current ride height at each wheel (from ground to fender). Write these numbers down to compare later.
Step-by-step 2-inch Lift Installation
The process varies slightly depending on your kit, but the basics are similar. Below is a general guide for both spacer and suspension kits.
1. Lift And Support The Vehicle
- Loosen the lug nuts on all four wheels.
- Lift the Gladiator with a jack and secure it on sturdy jack stands.
- Remove the wheels.
2. Disconnect Suspension Components
- Unbolt sway bar end links (front and rear).
- Disconnect shocks at the axle end.
- If installing new springs, disconnect the lower control arms at the frame for extra droop.
3. Lower The Axle
- Carefully lower the axle using the jack. Go slow—watch for stretched brake lines or ABS wires.
- Use a spring compressor if needed.
4. Install Spacers Or New Springs
- For a spacer kit: Place the spacers on top of the factory coil springs.
- For a suspension kit: Remove old springs and install new, taller springs.
Check that the coil is seated correctly before moving on.
5. Install Shock Extensions Or New Shocks
- Spacer kits typically use extensions to maintain stock shocks.
- Suspension kits often include new, longer shocks.
Bolt these into place, following the torque specs in your instructions.
6. Bump Stop Extensions And Sway Bar Links
- Add bump stop extensions to prevent over-compression.
- Replace or extend sway bar links as needed.
7. Reconnect And Tighten
- Reconnect all suspension components.
- Double-check that all bolts are tight and torqued to spec.
8. Reinstall Wheels And Lower Vehicle
- Put the wheels back on and hand-tighten the lug nuts.
- Lower the Jeep to the ground, then torque the lug nuts in a star pattern.
9. Final Checks
- Measure ride height again to confirm the lift.
- Take a slow test drive, listening for unusual noises.
- Check bolts again after 50–100 miles.
What To Expect After Lifting
A 2-inch lift changes how your Gladiator drives, both on and off-road. Here’s what most owners notice:
- Better ground clearance: You can clear bigger rocks and ruts.
- More aggressive look: The stance is noticeably higher and tougher.
- Room for bigger tires: Most 2-inch lifts fit 33–35 inch tires with no rubbing.
- Slightly firmer ride: Especially with new springs or shocks.
- Possible minor alignment changes: Always get a wheel alignment after lifting.
Here’s a quick look at how tire size options change:
| Lift Height | Max Recommended Tire Size | Fender Trimming Needed? |
|---|---|---|
| Stock | 33″ | No |
| 2″ | 35″ | Usually No |
| 2.5″+ | 37″ | Sometimes |
Common Mistakes And How To Avoid Them
Many first-timers make errors that can lead to poor performance or even safety risks. Here’s what to watch out for:
- Skipping the alignment: After lifting, the suspension geometry changes. Without an alignment, you’ll have uneven tire wear and poor handling.
- Forgetting bump stop extensions: This can cause the suspension to bottom out and damage components.
- Ignoring torque specs: Loose bolts can lead to failures. Always use a torque wrench.
- Overlooking brake line length: Some kits need extended brake lines—double-check before driving.
- Not checking for clearance: Test articulation by flexing the suspension off-road or on a ramp before using larger tires.
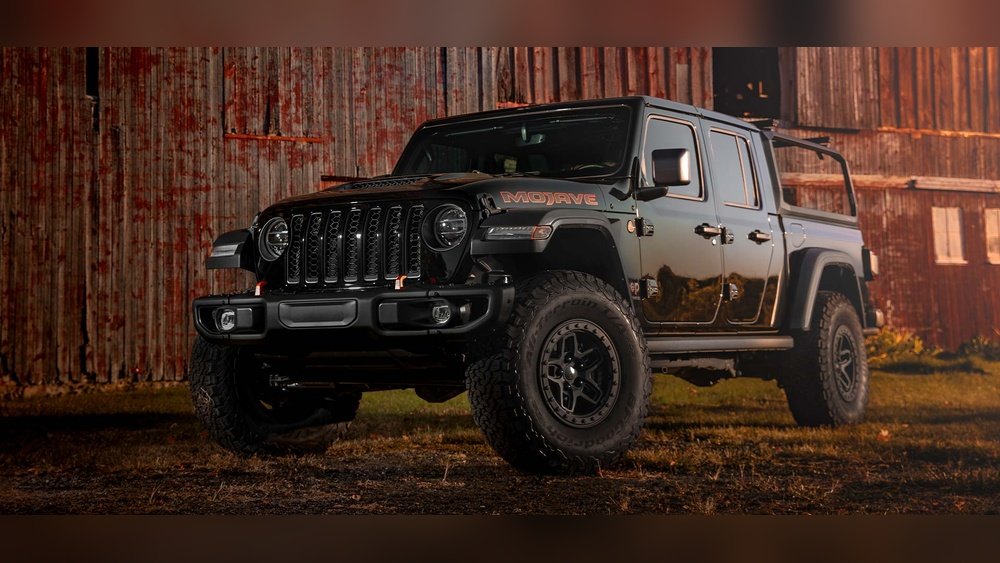
Credit: www.readylift.com
Tips For A Smooth Lift Install
- Lay out all parts before starting: Make sure you’re not missing anything.
- Take photos during removal: Helps when reassembling unfamiliar parts.
- Label bolts and nuts: Keep them organized by corner or position.
- Use anti-seize compound: It prevents bolts from rusting together.
- Have a friend help: Some steps are much easier with two sets of hands.
Is A 2-inch Lift Right For You?
A 2-inch lift is a practical upgrade for most Jeep Gladiator owners. It provides enough height for larger tires and rough trails without making the truck unstable or difficult to drive on the street. For most people, it’s the “sweet spot” between function, looks, and cost.
If you plan to run 37-inch tires, carry heavy loads, or do extreme off-roading, you may want a taller and more complex lift. But for daily use, camping, and most trails, 2 inches is plenty.
After The Lift: Upgrades To Consider
Some upgrades work especially well with a 2-inch lift:
- Bigger tires: 35-inch all-terrains or mud-terrains fit well.
- Wheel spacers or new wheels: To keep tires from rubbing.
- Upgraded shocks: For better ride and control, especially with added weight.
- Re-gearing: If you install larger tires, consider changing the gear ratio for better power and mileage.
- Extended brake lines: Especially if you off-road often.
- Adjustable track bar: Recenters the axle after lifting.
These are not always required but can improve your Gladiator’s performance and reliability.
Legal And Warranty Considerations
Before lifting your vehicle, check local laws and your warranty terms. Some states have rules about maximum height or bumper height. Lifts may affect the factory warranty, especially if parts are installed incorrectly or cause damage. Mopar-branded kits usually preserve more of your warranty than aftermarket ones, but always confirm with your dealer.
For more information about off-road and vehicle modifications, you can visit the official SEMA Action Network site.
Credit: www.rustysoffroad.com
Frequently Asked Questions
How Long Does It Take To Install A 2-inch Lift On A Jeep Gladiator?
Most DIYers complete a 2-inch lift in 4 to 8 hours. The time depends on your experience, tools, and whether you’re installing a spacer or suspension kit. Some shops can do it faster, but it’s best not to rush.
Will A 2-inch Lift Affect My Jeep Gladiator’s Warranty?
It might, depending on the kit and who installs it. Mopar-branded lifts installed by a dealer usually keep your warranty safe. Aftermarket kits or home installs can affect coverage, especially if a lift-related part fails. Always check your warranty booklet and ask your dealer.
Do I Need A New Driveshaft With A 2-inch Lift?
Usually, no. A 2-inch lift typically does not require a new driveshaft on the Gladiator. However, if you plan to go higher or add more suspension travel, upgraded driveshafts may be recommended for reliability.
Can I Fit 35-inch Tires With Just A 2-inch Lift?
Yes, most 35-inch tires will fit with a 2-inch lift, especially with the right wheels or minor fender trimming. Articulation and offset matter, so test for rubbing before hitting the trails.
Is A Professional Alignment Necessary After Installing The Lift?
Absolutely. After lifting, always get a professional alignment. This ensures safe handling, prevents uneven tire wear, and keeps your Gladiator driving straight.
A 2-inch lift is one of the most popular upgrades for the Jeep Gladiator, and for good reason. When done right, it combines improved capability with daily comfort. Take your time, follow the steps, and enjoy the new stance and performance of your truck—both on and off the road.