Adding a lift kit to your Jeep Gladiator is one of the most popular upgrades for off-road enthusiasts and those who want a tougher, more capable truck. The right lift kit can give your Gladiator better ground clearance, allow for larger tires, and transform its look and performance both on and off the road. However, this is not a simple bolt-on accessory. Installing a lift kit takes careful planning, the right tools, and a clear understanding of what you want from your Jeep. If you’ve been thinking about giving your Gladiator a boost, this guide will walk you through everything you need to know—from choosing the right kit to step-by-step installation, safety tips, and avoiding common mistakes.
Understanding Lift Kits: What They Do And Why They Matter
A lift kit raises your Jeep’s ride height. This upgrade is not just about looks; it improves off-road ability, allows bigger tires, and can help with towing or heavy loads. There are two main types of lift kits for the Jeep Gladiator:
- Suspension lift kits: These replace or modify suspension components like springs and shocks. They increase ground clearance and wheel travel, which is great for tough terrain.
- Body lift kits: These use spacers to raise the body off the frame. Body lifts allow for slightly bigger tires but don’t improve suspension travel.
For the Jeep Gladiator, most drivers choose a suspension lift kit for better off-road performance. Body lifts are less common because they don’t provide the same benefits.
Key Benefits
- Increased ground clearance (better for rocks and rough trails)
- Bigger tire compatibility (up to 37 inches or more)
- Aggressive look (tough, lifted stance)
- Improved approach/departure angles (better off-road handling)
But, a lift kit also brings some trade-offs, like a higher center of gravity (which can affect stability), possible changes in ride quality, and the need for extra parts (like longer brake lines or driveshafts).
Choosing The Right Lift Kit For Your Jeep Gladiator
Before buying a lift kit, think about your goals and how you’ll use your Jeep. Here are the top factors to consider:
1. Lift Height
Lift kits come in different sizes, usually from 1 to 6 inches or more. The most popular sizes for the Gladiator are 2-inch and 3.5-inch kits. Here’s a quick comparison:
| Lift Size | Tire Size (Max) | Best For |
|---|---|---|
| 1-2 inches | 33-35 inches | Daily driving, light off-road |
| 2.5-3.5 inches | 35-37 inches | Serious off-road, big tires |
| 4+ inches | 37+ inches | Extreme off-road, show trucks |
2. Complete Kit Vs. Spacer Kit
- Complete kits replace springs, shocks, and other parts. Best for performance.
- Spacer kits use blocks or spacers to lift the Jeep. Cheaper, but less effective for off-road.
3. Brand And Quality
Choose a trusted brand known for quality and support. Popular names for Jeep Gladiator lift kits include Mopar, Teraflex, Rubicon Express, and Rough Country. Cheap kits can lead to poor handling or even damage.
4. Budget
Lift kits range from $300 to over $3,000. A basic spacer kit is affordable but may not be enough for heavy off-roading. Full suspension kits cost more but provide the best results.
5. Additional Parts Needed
Depending on lift height, you may also need:
- Extended brake lines
- Driveshaft modifications
- Steering corrections
- Re-gearing axles (for very large tires)
Tools And Equipment Needed
Before you start, gather all the right tools. Missing even one can make the job much harder. Here’s a list of what you’ll likely need:
- Floor jack and sturdy jack stands (rated for your Gladiator’s weight)
- Socket and wrench set (metric and SAE)
- Torque wrench (for accurate tightening)
- Pry bar
- Spring compressors (for coil spring kits)
- Allen wrenches
- Breaker bar
- PB Blaster or similar lubricant (for rusty bolts)
- Safety glasses and gloves
If you don’t own these, some auto parts stores rent out tools. Always work on a flat, solid surface.
Preparing Your Jeep Gladiator
Getting ready is half the battle. Here’s how to prepare your Jeep:
- Clean your Jeep’s undercarriage. Dirt and mud make bolts harder to remove.
- Read the lift kit instructions. Every kit has unique steps. Don’t skip the manual.
- Check for rust or damaged parts. Replace any worn bushings, bolts, or mounts before you start.
- Measure your current ride height. Record measurements from the ground to the fender at each wheel. This helps compare before and after.
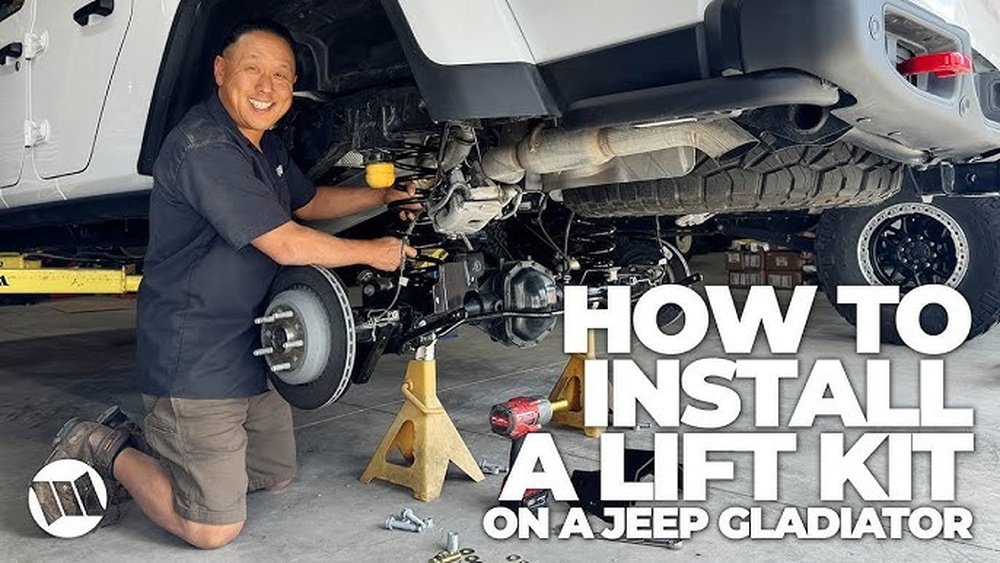
Step-by-step Guide: How To Add A Lift Kit To Jeep Gladiator
The process can take anywhere from 4 to 10 hours depending on your experience and the kit. Here’s a general step-by-step overview for most suspension lift kits:
1. Secure And Lift The Jeep
- Park on a level surface.
- Engage the parking brake.
- Loosen the lug nuts on all four wheels.
- Use a floor jack to raise the Jeep.
- Place jack stands under the frame for safety.
- Remove the wheels.
2. Remove Factory Suspension Components
- Use a socket set to remove shocks, sway bar links, and track bars.
- For coil spring kits, compress and remove the coil springs.
- Keep all hardware organized; you may reuse some bolts.
3. Install New Lift Components
- Install new coil springs or spacers according to the kit instructions.
- Attach new shocks—these are often longer than stock.
- Install any included brackets, bump stops, or track bar relocation brackets.
- If required, add longer sway bar links or extended brake lines.
4. Reassemble And Double-check
- Reattach wheels and hand-tighten lug nuts.
- Lower the Jeep slowly from the jack stands.
- Torque all bolts to the specs in your kit’s manual.
- Double-check all connections and look for loose parts.
5. Alignment And Test Drive
- Take your Jeep to a professional shop for a wheel alignment. This is critical—bad alignment can ruin tires and make your Jeep hard to drive.
- Test drive at low speed. Listen for noises, feel for shakes, and check steering response.
6. Retorque After Driving
After about 100 miles, recheck all bolts and torque them again. Lift kits can settle, and bolts can loosen after the first drive.
Common Mistakes To Avoid
Many beginners make the same errors when adding a lift kit. Avoid these to save time and money:
- Skipping the alignment: Not getting an alignment after lifting can lead to uneven tire wear and poor handling.
- Forgetting extended brake lines: Lifting your Jeep without longer brake lines can stretch or break them during off-road use.
- Not checking driveshaft angle: A high lift can cause vibration or damage if the driveshaft angle isn’t corrected.
- Over-tightening bolts: Use a torque wrench. Too much force can strip threads or break bolts.
- Missing parts: Always double-check the kit contents before starting.
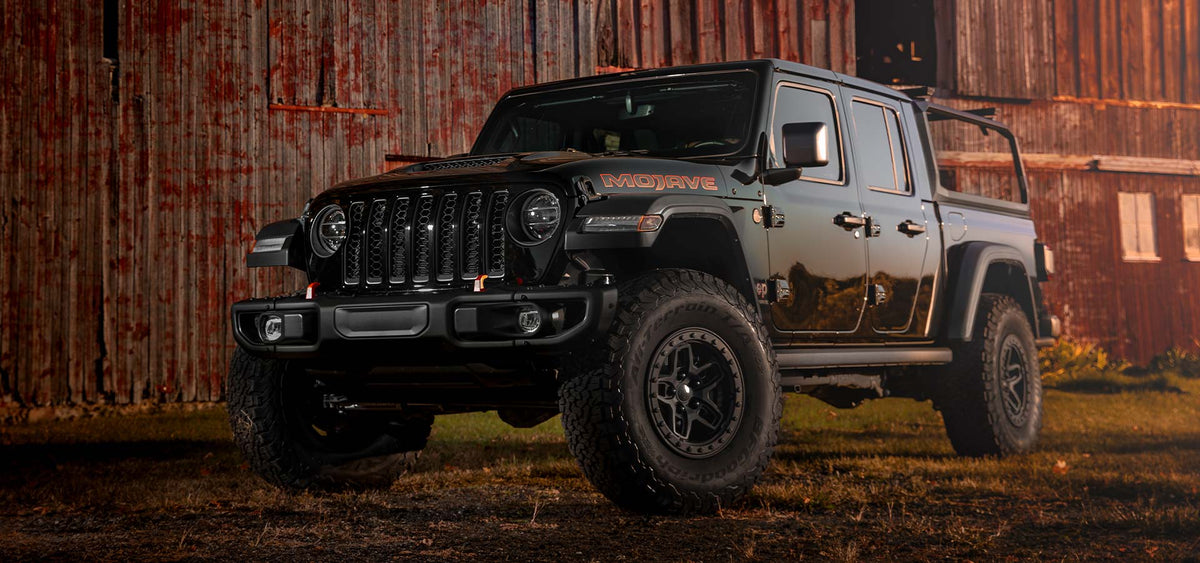
Real-world Example: 2.5-inch Lift Kit On A Gladiator Rubicon
Let’s look at a practical example. A Jeep Gladiator Rubicon owner chose a 2.5-inch Teraflex suspension lift kit to fit 37-inch tires for weekend trail rides. The kit included new coil springs, shocks, sway bar links, and all hardware.
- Install time: About 8 hours, using basic hand tools and a friend’s garage.
- Cost: $1,200 for the kit, $150 for alignment.
- Result: Ground clearance increased by 2.8 inches (measured at the lowest point). The Jeep felt more stable on rocks, and the owner reported no rubbing with 37-inch tires. Ride was slightly firmer but still comfortable on the highway.
This owner also noticed something many beginners miss: after lifting, the steering wheel was off-center until the alignment shop corrected it. This is common and not a sign of a bad install.
Comparing Popular Lift Kits For Jeep Gladiator
To help you choose, here’s a comparison of some well-known Gladiator lift kits:
| Brand | Lift Height | Kit Type | Estimated Price |
|---|---|---|---|
| Mopar | 2 inches | Suspension | $1,600 |
| Teraflex | 2.5 inches | Suspension | $1,200 |
| Rough Country | 3.5 inches | Suspension | $1,000 |
| Rubicon Express | 2.5 inches | Suspension | $1,300 |
| Daystar | 2 inches | Spacer | $350 |
Credit: aev-conversions.com
Important Tips And Non-obvious Insights
- Don’t forget about your warranty: Some dealers may void parts of your warranty after lifting. Check with your dealer before starting.
- Insurance impact: Lifting your Jeep can affect insurance. Notify your provider so you’re covered in case of an accident.
- Re-gearing may be needed: If you go above 35-inch tires, your Jeep may feel sluggish. Re-gearing the axles restores power and fuel economy.
- Check local laws: Some areas have height or bumper laws. Make sure your lifted Gladiator is legal where you live.
After The Install: What To Watch For
After you’ve installed your lift kit, keep an eye on:
- Suspension noises: Creaks or clunks can mean loose bolts or worn bushings.
- Steering feel: If the Jeep wanders or feels loose, get an alignment check.
- Tire wear: Uneven wear often means you need a better alignment.
Regularly inspect your suspension, especially after hard trail use. Parts can wear out faster with a lifted setup.

Credit: www.youtube.com
Frequently Asked Questions
What Size Lift Kit Should I Get For My Jeep Gladiator?
It depends on your goals. For daily driving and mild off-road, a 2-inch kit is usually enough. If you want to run 37-inch tires and do serious trails, a 2.5-3.5 inch kit is better. For extreme builds, go higher, but be ready for more work and expense.
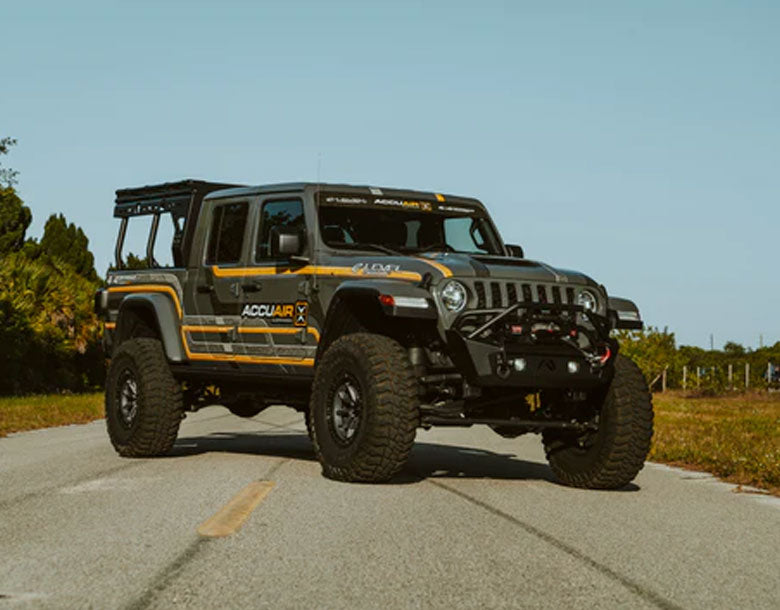
Credit: accuair.com
Can I Install A Lift Kit Myself, Or Should I Go To A Shop?
If you have basic mechanical skills and tools, you can install most kits at home. However, some steps (like compressing springs) can be risky. If you’re unsure, a professional shop is safer and faster.
Will Lifting My Gladiator Void The Warranty?
It might affect certain parts of your warranty, especially if a problem is linked to the lift. Always check with your dealer. Some brands, like Mopar, offer dealer-approved lift kits that keep your warranty valid.
Do I Need To Change Anything Else After Installing A Lift Kit?
Yes, often you’ll need an alignment, possibly longer brake lines, and sometimes driveshaft or steering upgrades. If you use larger tires, you may also need to re-gear the axles for best performance.
Where Can I Find More Detailed Instructions For My Specific Lift Kit?
Always read the instructions that come with your kit. You can also find helpful guides and videos on forums like Jeep Gladiator Forum or from the kit manufacturer’s website. For more technical details, visit Wikipedia.
Adding a lift kit to your Jeep Gladiator is a big but rewarding project. With careful planning, the right parts, and attention to detail, you’ll enjoy a tougher, more capable Jeep on every adventure.