If you’re looking to upgrade your Jeep with a tough, custom bumper, welding it yourself can save you money and give you exactly what you want. But welding a bumper isn’t as simple as it looks.
You need the right tools, techniques, and safety know-how to make sure your bumper is strong and reliable. In this guide, you’ll learn step-by-step how to weld a custom Jeep bumper that not only looks great but can handle the roughest trails.
Ready to take control of your build and create something truly unique? Keep reading, and by the end, you’ll have the confidence to weld your own bumper like a pro.
Credit: www.movebumpers.com
Choosing Materials
Choosing the right materials is important for welding a custom Jeep bumper. The material affects strength, durability, and safety. Picking the best steel type and thickness ensures the bumper holds up under tough conditions. Adding the right parts also helps the bumper work well and last longer.
Types Of Steel
Steel is the top choice for Jeep bumpers. Mild steel is common because it is easy to weld and strong enough for most uses. Stainless steel resists rust but costs more and is harder to work with. Alloy steel offers extra strength but needs special welding skills. Pick steel that fits your budget and skill level.
Recommended Thickness
Steel thickness affects strength and weight. Use steel between 3/16 inch and 1/4 inch thick for good balance. Thicker steel is stronger but heavier and harder to weld. Thinner steel is lighter but may bend or break under pressure. Choose thickness based on your Jeep’s use and driving style.
Additional Components
Other parts add value and function to the bumper. Consider mounting plates for winches or tow hooks. Reinforcement bars improve strength at stress points. Skid plates protect the Jeep’s front from rocks and debris. Include these parts to make your bumper more useful and durable.
Tools And Equipment
Building a custom Jeep bumper requires the right tools and equipment. These tools help you cut, measure, and weld metal safely and accurately. Having proper equipment makes the process easier and the results better.
Welding Machines
Choose a welding machine suitable for steel and thick metal. MIG welders are common for Jeep bumpers. They offer control and strong welds. TIG welders give more precision but need skill. Stick welders work well outdoors or on rough metal. Check the machine’s power rating and settings before starting.
Safety Gear
Protect yourself with safety gear. Wear a welding helmet with a dark lens to shield your eyes. Use gloves made for welding to protect hands from heat and sparks. Wear a long-sleeve shirt and pants made of flame-resistant material. Use ear protection if noise is loud. Keep a fire extinguisher nearby.
Measuring And Cutting Tools
Accurate measuring is key for a good bumper fit. Use a tape measure, ruler, and square for straight lines. Mark cuts clearly with a metal scribe or marker. Cut metal with an angle grinder, metal cutting saw, or plasma cutter. Smooth edges with a file or grinder to avoid sharp parts.
Designing The Bumper
Designing a custom Jeep bumper is the first step in building a strong, functional part. A good design fits your Jeep perfectly and meets your needs. Careful planning saves time and materials during welding. Start with clear ideas about size, shape, and mounting.
Each Jeep model is different. Accurate measurements and sketches help create a bumper that works well and looks great.
Measuring Your Jeep
Measure the front or rear area where the bumper will go. Note width, height, and depth. Check the frame and existing mounts. Use a tape measure for exact numbers. Write down all measurements clearly. Small mistakes cause big problems during welding.
Sketching The Frame
Draw the bumper frame on paper or a computer. Show all parts and how they connect. Keep the design simple and strong. Mark areas for lights or tow hooks if needed. Sketching helps spot design issues early.
Planning Mounting Points
Decide where the bumper will attach to the Jeep. Mounting points must be strong and match the frame. Mark their exact spots on your sketch. Check if you need extra brackets or reinforcements. Proper mounting ensures safety and stability on rough trails.

Credit: www.ebay.com
Cutting And Preparing Metal
Cutting and preparing metal is a key step in welding a custom Jeep bumper. It shapes the foundation for strong, clean welds. Proper preparation ensures each metal piece fits well and welds smoothly. Take your time with this phase. Precise cuts and clean edges prevent problems later.
Marking Metal Pieces
Start by marking the metal pieces clearly. Use a permanent marker or scribe tool. Mark exact measurements and shapes for each part. Double-check your marks before cutting. Accurate markings help avoid mistakes and wasted material. Keep your marks visible but thin.
Cutting Techniques
Select the right tool for cutting your metal. Common options include angle grinders, metal saws, or plasma cutters. Cut slowly and steadily to follow your marks. Use safety gear like gloves and goggles. Make straight cuts to ensure proper fit. Avoid rough or jagged edges that can weaken welds.
Cleaning And Deburring
Clean metal pieces after cutting. Remove dirt, rust, and oil with a wire brush or cloth. Deburr edges using a file or grinder. Smooth edges improve welding quality and safety. Clean and deburred metal helps welds bond better. Take time here for a solid, lasting bumper.
Tack Welding And Assembly
Tack welding and assembly form the foundation of building a strong custom Jeep bumper. This step holds the metal parts together before the final welds. It allows you to adjust and align parts easily. Proper tack welding ensures your bumper fits perfectly and stays sturdy.
Positioning Parts
Start by placing all parts in their correct spots. Use clamps or magnets to hold pieces steady. Check that edges line up and corners meet properly. Position parts on a flat surface to avoid warping. Take your time to get everything right before welding.
Tack Welding Basics
Use short welds to join the parts temporarily. Tack welds should be strong enough to hold pieces but small. Place tacks evenly along the joints. Avoid putting too much heat in one area. This prevents metal distortion and keeps the shape true.
Checking Alignment
After tacking, examine the bumper from different angles. Use a straight edge or level to check lines. Make sure gaps between parts are even. Adjust tacks if needed to fix any misalignment. Proper alignment now saves time and effort later.
Final Welding Process
The final welding process is the most important step in building your custom Jeep bumper. This stage brings all parts together to form a strong, durable frame. Careful welding ensures the bumper will handle rough terrain and heavy use. Take your time and focus on quality.
Welding Techniques
Use the right welding technique for metal thickness and type. MIG welding works well for most Jeep bumpers. It gives clean, strong welds. Keep a steady hand and move slowly. Avoid gaps or weak spots in the weld. Make short passes to control heat and avoid burn-through.
Avoiding Warping
Heat from welding can warp metal. To prevent this, weld in short sections. Let the metal cool between welds. Clamp pieces tightly to keep them aligned. Use a heat sink or cooling spray if needed. Check the shape often to keep the bumper straight.
Ensuring Strong Joints
Strong joints are critical for safety and durability. Clean all metal surfaces before welding to remove rust and dirt. Use a proper fit-up so parts touch evenly. Fill each weld completely and inspect for cracks or holes. Finish by grinding smooth edges to avoid weak spots.
Finishing Touches
The finishing touches make your custom Jeep bumper strong and lasting. These steps improve the look and protect it from damage. Follow them carefully to complete your welding project.
Grinding Welds
Grinding welds smooths out rough edges and excess metal. Use a grinder with a flap disc for best results. Take care not to remove too much metal. Smooth welds help your bumper look neat and fit better.
Adding Mounting Hardware
Secure mounting hardware holds the bumper firmly on your Jeep. Choose bolts and brackets that fit your design. Tighten all bolts with a wrench to avoid looseness. Check alignment before final tightening to ensure proper fit.
Painting And Rust Protection
Painting protects the metal from rust and weather damage. Use a primer designed for metal surfaces first. After the primer dries, apply a durable paint coat. Consider using rust-proof spray for extra protection. Let all layers dry completely before use.

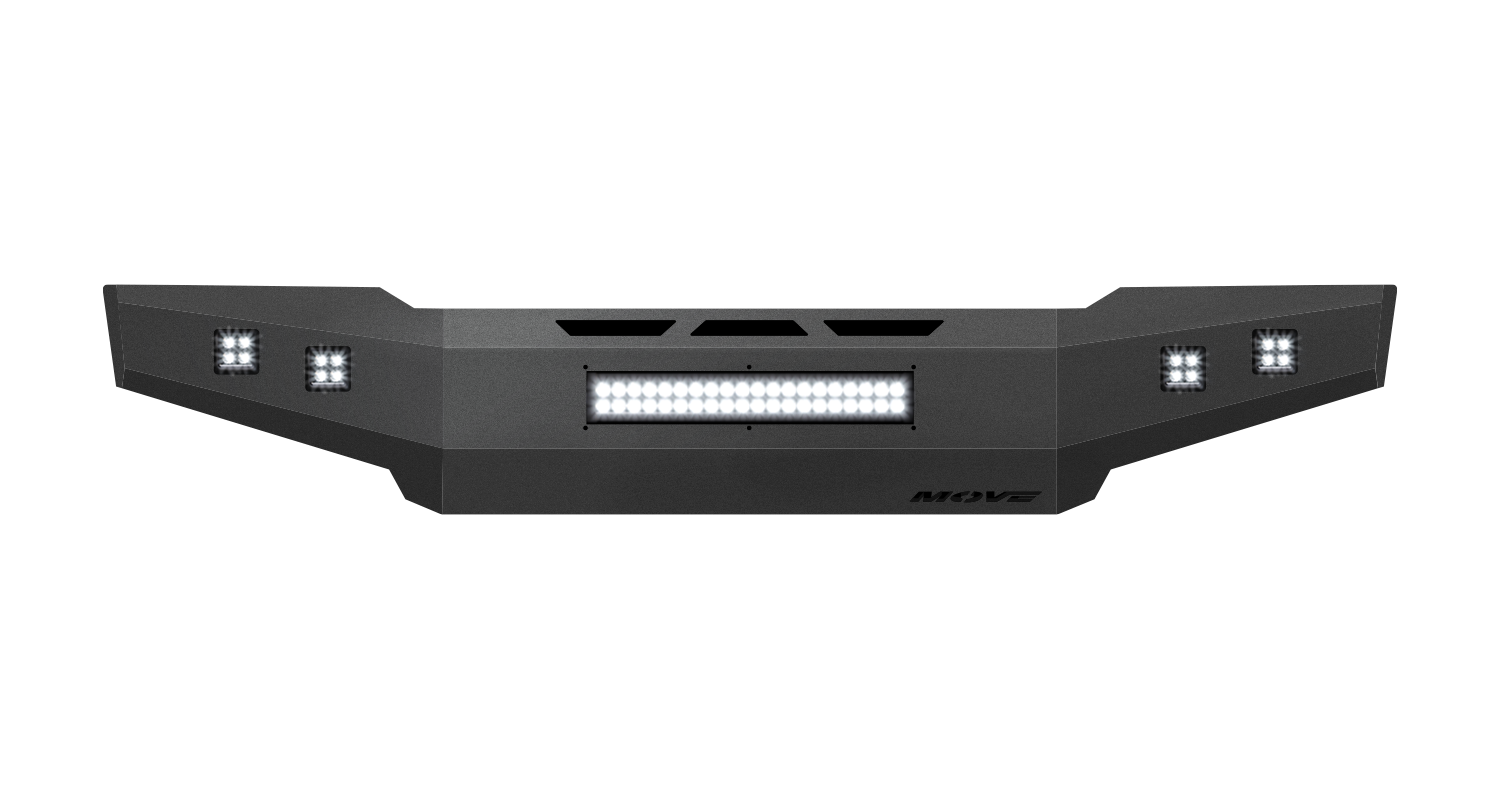
Credit: motobilt.com
Safety Tips
Safety is the top priority when welding a custom Jeep bumper. Welding involves heat, sparks, and harmful fumes. Taking the right safety steps protects your body and lungs. It also helps avoid accidents and injuries. Follow these important safety tips to weld safely and confidently.
Protective Clothing
Wear flame-resistant clothing. Long sleeves and pants protect your skin from sparks. Use welding gloves to shield your hands. A welding helmet with a proper shade guards your eyes and face. Avoid synthetic fabrics that can melt and cause burns. Choose cotton or leather materials for best protection.
Ventilation Importance
Welding releases toxic fumes and gases. Good ventilation keeps the air clean and safe. Work outdoors or in a well-ventilated area. Use fans or exhaust systems to move fumes away. Never weld in a closed space without airflow. Breathing clean air reduces health risks.
Handling Equipment Safely
Inspect welding tools before use. Check cables and connections for damage. Handle the welding machine with dry hands. Turn off equipment when not welding. Keep a fire extinguisher nearby for emergencies. Store tools properly to avoid accidents. Stay alert and focused during the whole process.
Troubleshooting Common Issues
Troubleshooting is a key skill in welding a custom Jeep bumper. Problems can slow your work or affect the final strength. Knowing common issues helps you fix them fast. This saves time and keeps your project safe and strong.
Dealing With Warped Metal
Metal warps from too much heat during welding. Warped parts may not fit right on your Jeep. Use short welds and cool the metal between passes. Clamp the metal firmly to keep it straight. If warping happens, hammer the metal gently back into shape.
Fixing Weak Welds
Weak welds break easily and are unsafe. Weakness often comes from dirty metal or wrong settings. Clean the metal before welding. Check your welder’s power and wire speed. Add more passes or use a different welding angle. Test the weld by tapping it gently to ensure strength.
Correcting Misalignment
Parts may not line up during assembly. Misalignment causes poor fit and weak joints. Measure twice before welding. Use clamps and jigs to hold parts in place. If misaligned, cut the weld and reposition the parts. Small adjustments can improve the final look and durability.
Frequently Asked Questions
What Materials Are Best For Welding A Jeep Bumper?
Steel and aluminum are the most common materials for Jeep bumpers. Steel offers strength and durability, while aluminum is lightweight and rust-resistant. Choose based on your Jeep’s needs and welding skills.
Which Welding Technique Suits Custom Jeep Bumpers?
MIG welding is ideal for custom Jeep bumpers. It provides strong welds, is easy to learn, and works well with steel and aluminum. TIG welding is an alternative for precise, clean joints.
How Do I Prepare Metal Before Welding A Bumper?
Clean the metal surface thoroughly to remove rust, paint, and grease. Use a wire brush or grinder for better weld penetration and stronger joints.
What Safety Gear Is Essential For Welding Bumpers?
Wear a welding helmet, gloves, long sleeves, and protective eyewear. Ensure proper ventilation to avoid inhaling fumes. Safety is crucial during all welding tasks.
Conclusion
Welding a custom Jeep bumper takes time and care. Follow safety steps and use the right tools. Practice your welding technique for better results. Check your work often to avoid mistakes. A strong bumper protects your Jeep and looks great.
Enjoy the pride of building your own part. Keep learning and improving with each project. This guide helps you start your welding journey confidently.